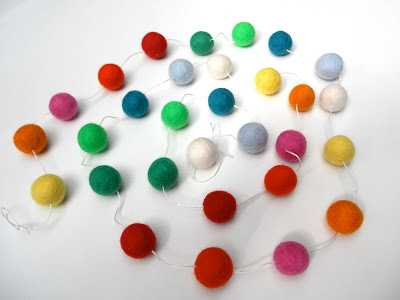
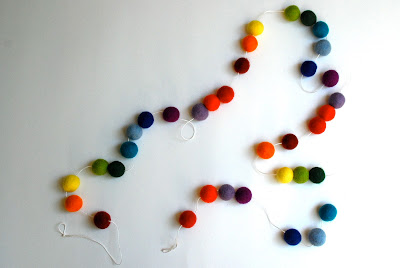
Well this has become my new favorite thing to make as of late. In fact the title to this post should be "Easy Peasy." These FELT BALL GARLANDS are so so easy to make and the color combinations are endless, there are infinite possibilities and having this hung around your house for different holidays make everything more festive!
What you will need:
-Felt Balls
-String (I use 1mm thick nylon cording)
-Needle (something rather long with an fairly large eye)
I also sell all of these materials in my Etsy Shop...The Fickle Felt Tree
First thread your needle. If you're using a larger string/chord and are having a hard time threading your needle I find it helpful to bite on the end to make it flat before threading it. Also, I like to use the nylon chord because it has some texture to it, which prevents the felt balls from slipping.
Pierce the felt ball with the needle. The reason I like to use longer needles for this type of project is so you are able to get a good grip on it. If you use a smaller needle I find it is harder to pull through. As you are pulling the needle through be sure to keep it straight so the ball is not uneven on the string.
This is they semi-tough part. When you pull the string through the felt ball it requires a small bit of effort. I have found that using a rubber jar opener really helps. It lets me grip the needle so it doesn't just slip through my fingers. I think anything rubber might work just as well. Perhaps a large rubber band of some kind. If you do not have one of these and you are still having a hard time pulling the needle through, you might need to use a pair of pliers
An there you have it.
PIERCE, PULL...
REPEAT
You can add knots before and after the felt balls if you would like but I find that it really takes away from the overall look of the garland. Also, like I already mentioned, the felt balls do not slip on the nylon chord so knots are not necessary.
I find that 30 felt balls fit nicely on a 6 foot string, when you space them about 2 inches apart. You can move and position the felt balls as you wish....evenly space them apart or group them together. What ever you like!
This is how I tie them off, but you can do it however you want. You could even get the crimping beads used in jewelry making and use that if you would like a cleaner look.
I think they are so adorable and a different one can be used for every occasion. They would also look so cute in nursery or little kids room.
Here are some pictures of a few other garlands I have made.
They can all be found in my Etsy Shop as well.
Easter/ Spring Garland
Rainbow Garland
St. Patty's Day Garland
I hope you have enjoyed the tutorial let me know if you have any questions.I am here to help!
-Jennelle


